Here are some ideas and pictures of my Preschool Sensory Table activities.
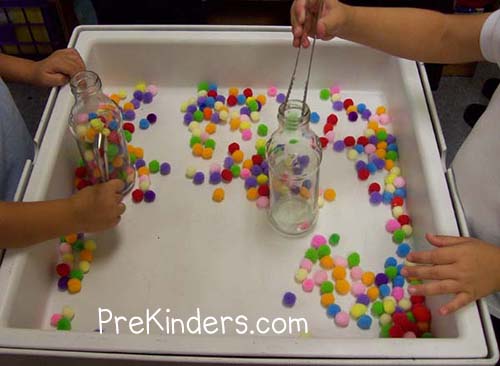
Pom Poms, Bottles, & Tongs
Children use the tongs to pick up the colored pom poms and drop them into a bottle. This activity is good fine motor practice and hand-eye coordination. The bottles in the picture are Tazo drink bottles, which I chose because the opening was not too small and not too wide. I later replaced them with clear plastic bear-shaped honey bottles since our sensory table is on a hard floor and the bottles would break if they fell.
This is my favorite sensory table to start out our year in Pre-K because it’s one of the least messy!
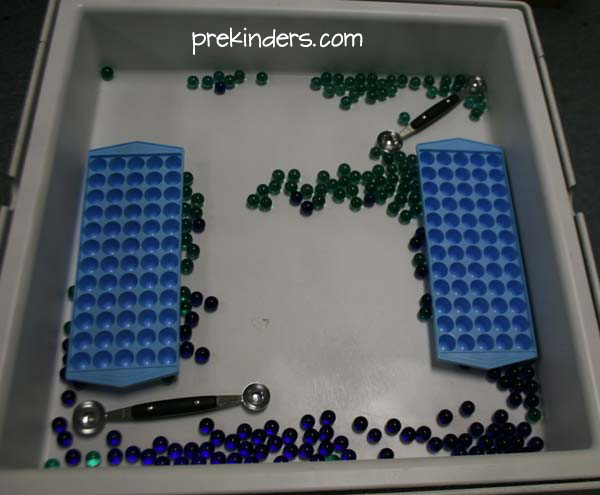
Marbles and Melon Scoops
Children use the melon scoops to pick up marbles and put them in the ice cube tray. Children love to do this and they are practicing fine motor in a fun way. The marbles can be a little noisy, but if this bothers you, just place sheets of craft foam or a large piece of felt in the bottom of the sensory table pan to buffer the noise.
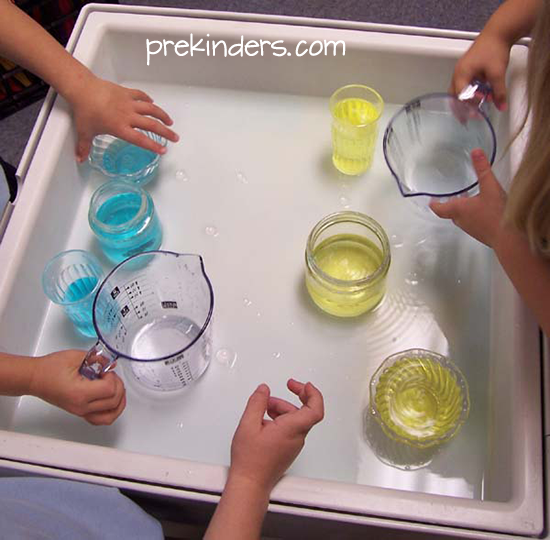
Pouring Water
Children poured water into different sized containers.
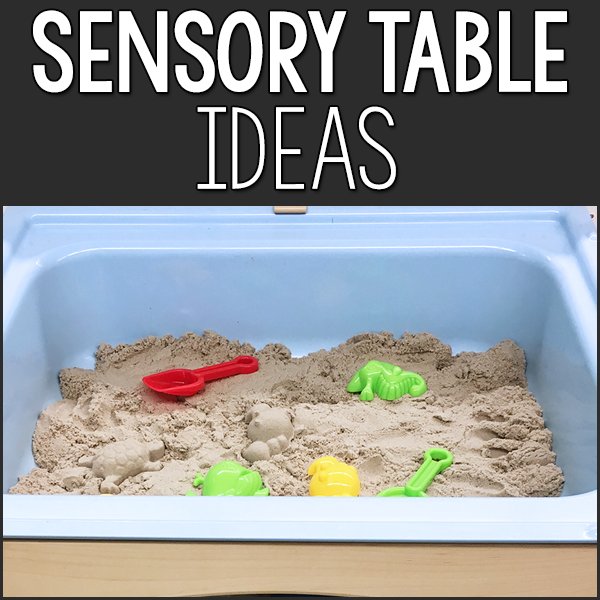
Pouring Sand
Children poured sand into different sized containers. I use dustless Jurassic Sand — see resources section below for info.
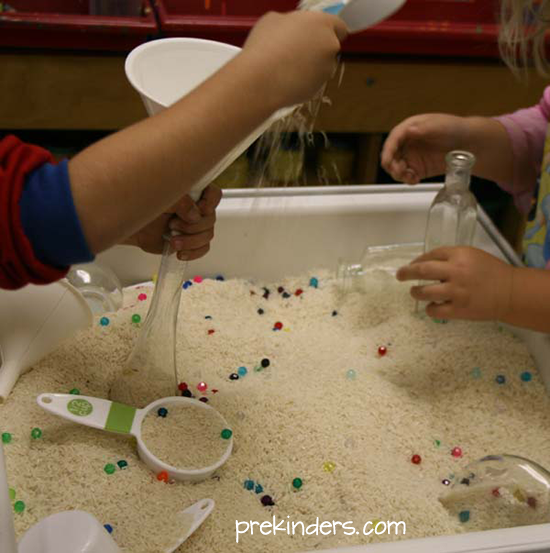
Exploring Volume with Rice
Children used dry rice and colored jewels with measuring cups, funnels, and different sizes and shapes of clear glass containers.
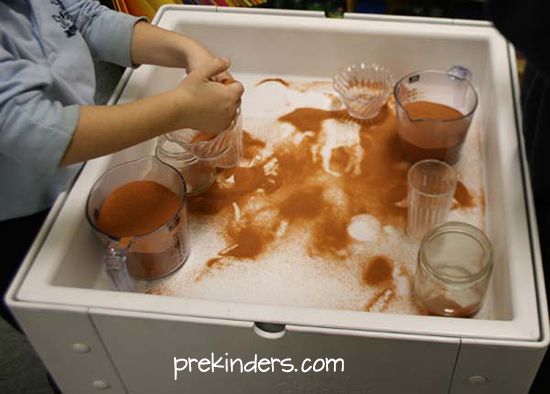
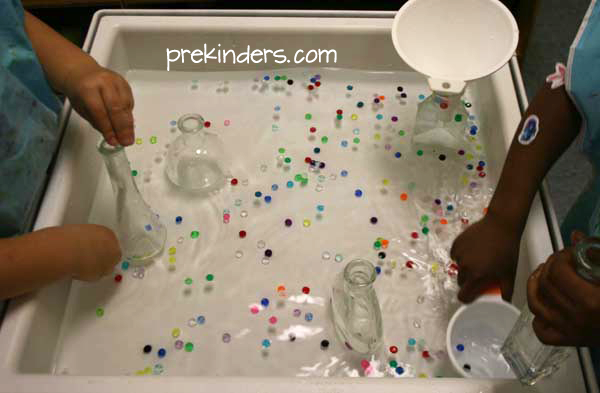
Exploring Volume with Water
Children used water and colored jewels with measuring cups, funnels, and different sizes and shapes of clear glass containers.
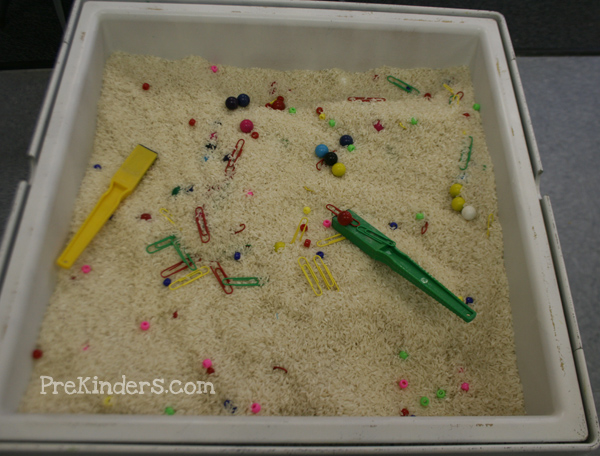
Magnets in the Sensory Table
This fun science sensory table has magnetic and non-magnetic items for children to explore. Fill the sensory table with rice (or use sand). Add colorful plastic pony beads (non-magnetic), some magnetic marbles, and colored metal paper clips. Include magnet wands for each child.
(Note: These items could be a choking hazard for very young children.)
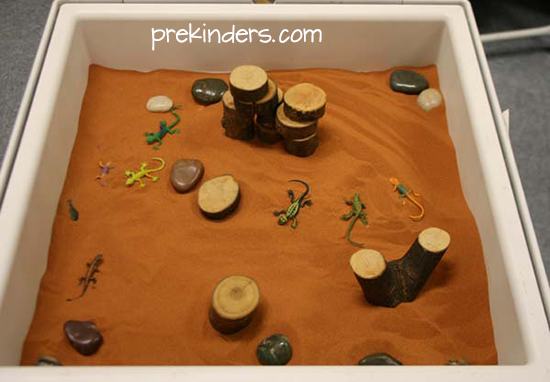
Creative Exploration (Lizards)
Children used Jurassic Sand with Tree Blocks, river rocks, and plastic lizards for creative play.
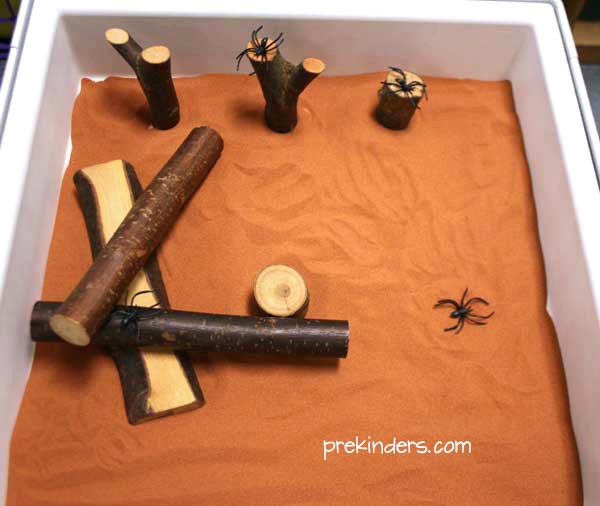
Creative Exploration (Spiders)
Children used Jurassic Sand with Tree Blocks and plastic spiders for creative play. The plastic spiders are spider rings with the ring part cut off.
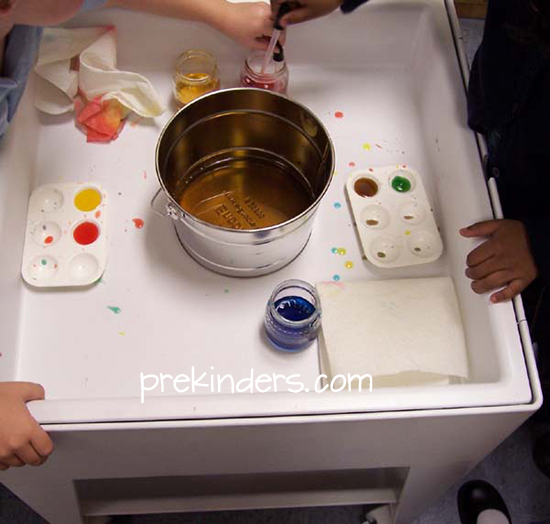
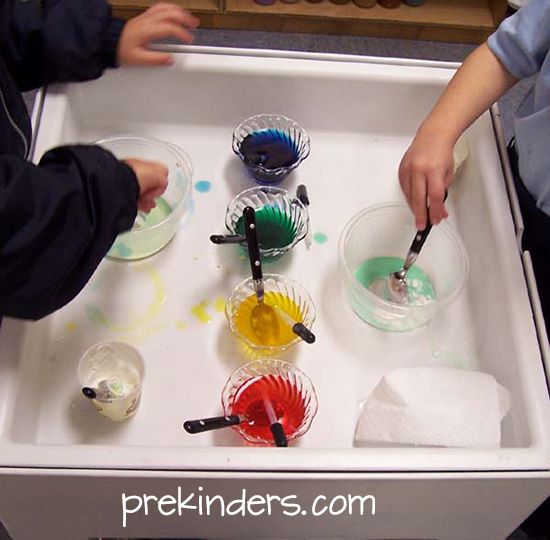
Color Mixing
Children mixed primary-colored water to make secondary colors. The bucket in the middle was for dumping the water when finished, or to start over.
Turkey Basters
I added turkey basters (bought at the Dollar Tree) with a bucket of water and measuring cups. Of course, all of the water from the bucket ended up in the table, but that was okay. From that point, they squeezed up the water from the table & tried to get it all back in the bucket. Great fine motor practice & a lot of fun!
Cups With Holes & Cups Without Holes
I added two cups with holes & two without holes for the children to explore with the water. I used clear disposable punch cups & used a drafting compass to poke holes in the bottom of two of the cups. Oddly enough, the compass is one of my handiest tools in the classroom– I have used it to draw many circles & poke many holes in things. The kids enjoy drawing circles with them, too. Anyway, they LOVED this sensory table; loved making & watching the “rain”.

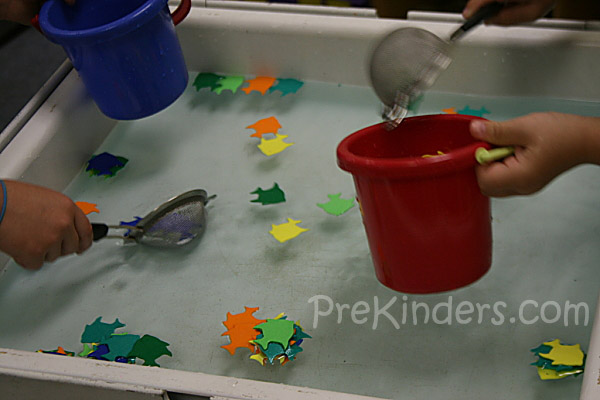
Catching Fish
I added these foam fish from a package I purchased at a craft store, along with kitchen strainers, and two small buckets. The children enjoyed catching the fish and putting them in their bucket. When all of the fish were gone, they dumped their bucket of fish back into the water. If foam fish are unavailable, you could cut a simple fish shape from sheets of craft foam, or use any foam shape– hearts for Valentines Day, or animals for a safari theme for example.
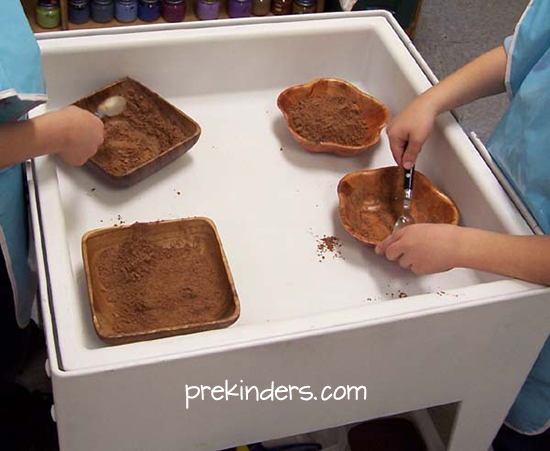
Transferring Cocoa (Left to Right)
Children used a spoon to move cocoa from the bowl on the left to the right. The cocoa gives off a nice scent. Cinnamon and other spices can also be used.
Easy Fingerpaint
Someone donated some bottles of finger paint to our class, but we had no finger paint paper. Instead of finger painting on paper, we put it in the sensory table, and the children loved it! It’s also fun to add two colors that mix well, such as blue+yellow, or red+yellow.
Be sure to have children push up their sleeves and wear a paint smock for this activity. Keep wet wipes handy. Wipe out the table as soon as center time is over, because it is harder to clean up after it has dried. Kids can help with clean up by wiping it out with wet wipes (I go behind them and disinfect the table each day, also).

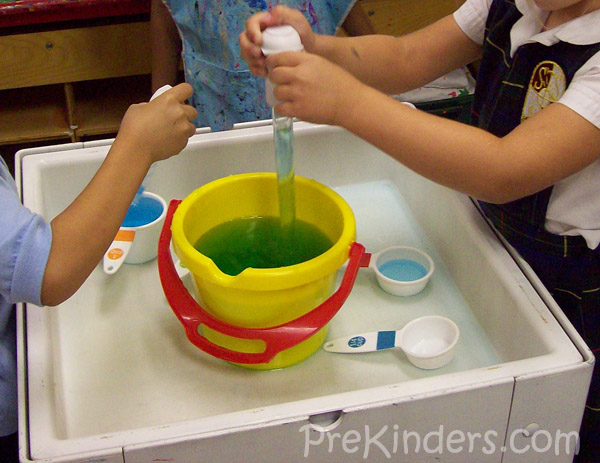
Mixing Goop
Children mixed cornstarch with colored water to make “goop”.
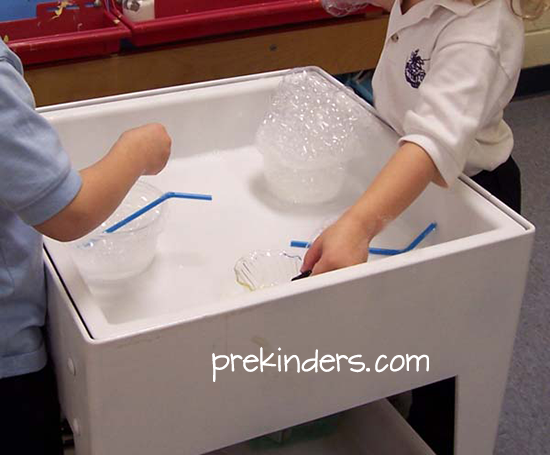
Bubbles
Children added liquid soap to water with medicine droppers and blew bubbles with a straw.
Ice Rainbows
Children explored crushed ice and colored water by adding drops of colored water to a cup of ice.

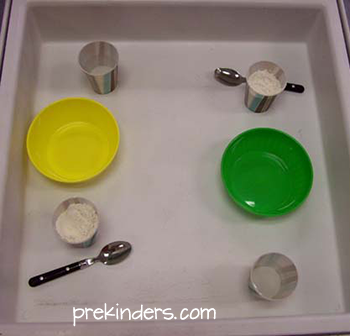
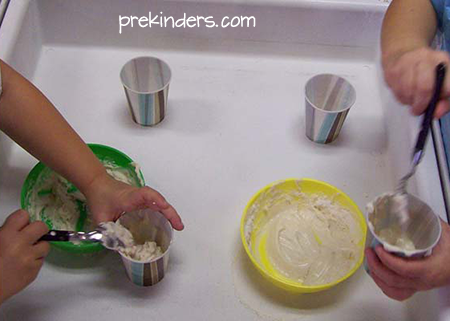
Flour & Water Mixture
Place a cup of flour, cup of water, spoon, and bowl in the sensory table for each child (I only have room for two children at our table). The children can choose the amounts of flour and water to add to their bowl and stir, experimenting to see the different consistencies they get when they add more water or more flour.
Where to find these items:
Pony Beads: Can be found in craft stores.
Magnetic Marbles: Can be purchased from school supply stores.
Magnet Wands: Can be found in fabric shops.
Resources for Your Sensory Table
Insta-Snow:
Jurassic Sand:
- Jurassic Sand Website (Jurassic Sand has provided a discount code for PreKinders.com readers. Enter “PREKINDERS 10%” (with a space).
- Kaplan
I receive a lot of questions about where I purchased the sensory table. The truth is, I rescued it from my school’s storage building in pitiful condition, got rid of the bugs and frogs, soaped it down, and sprayed it with white spray paint (the kind made for plastic). Check educational supply catalogs to find similar sensory tables. Community Playthings has a nice one.
Don’t miss the science resource page!
Don't worry - we never sell or share email addresses!