Today, we made bubbles in my class for a science activity. I like to start with simple experiments with fewer steps early in the year.

Materials Needed:
liquid dish soap
plastic spoons
disposable cups
measuring cups
small pitcher of water
rigatoni
pipe cleaners
Set Up:
Gather all materials. Bend pipe cleaners into a bubble wand shape (with a circle on one end).
Procedure:
I first made my own cup of bubble solution to show the children exactly what I expected them to do. I talked to them about carefully pouring each liquid into the spoon or measuring cup, without spilling (if possible). I was surprised by how careful and precise the kids measured out their liquids and poured them into their cup. They were very good scientists!
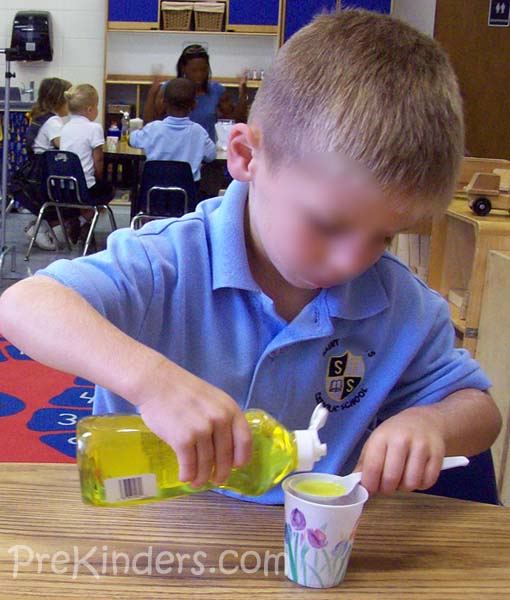
First, we poured liquid dish soap into a spoon, and poured it into the cup.
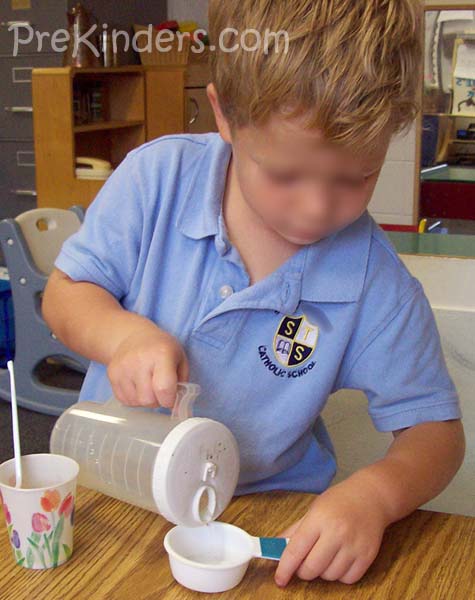
Second, we measured out 1/4 cup of water and poured it into the cup. Then, we stirred the mixture together. I put only 1/4 cup of water into the pitcher for each child to help them be more successful in getting the right amount, and it wouldn’t overflow. Our pitchers have measuring marks on the outside. We also use these pitchers at snack time for the children to pour their drinking water or juice (the children love this kind of independence!) If you live in the South, you can find these pitchers at Publix with the kitchen items.
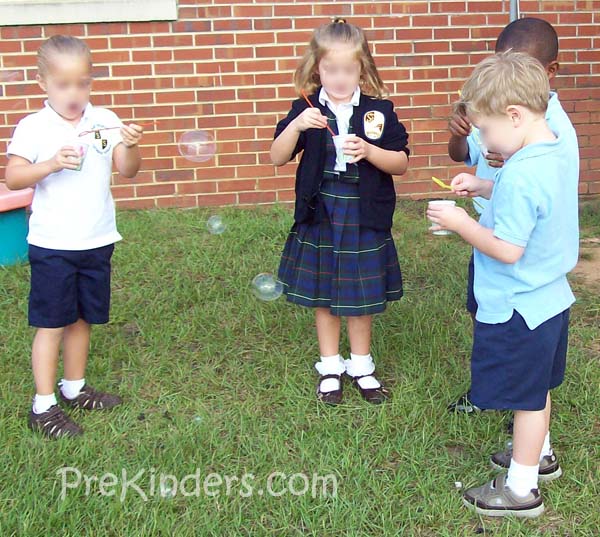
We went outside to test our bubble solution. I made bubble wands out of pipe cleaners. We also tried blowing through dry rigatoni, just for experiment. The rigatoni worked, but the pipe cleaners worked better.


