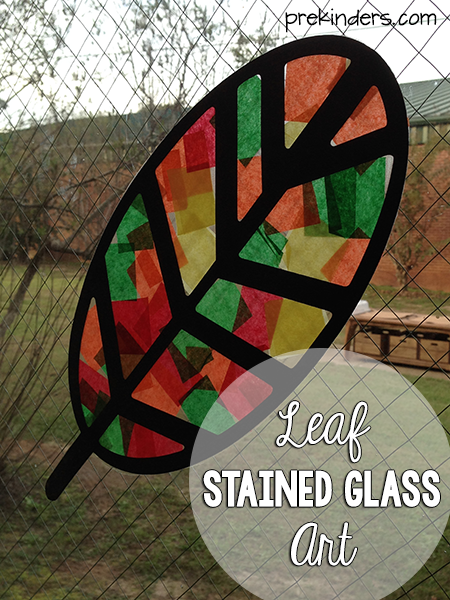
Stained glass art is a traditional art activity that you can do with many different holidays and themes. This leaf stained glass art activity will add some Fall colors to your classroom windows.
Traditionally, teachers have to trace and cut the leaf outline for this type of art, and you may wish to do it that way. I used my Cricut machine and let it do the cutting for me. Good-bye tracing and cutting! If you don’t have a Cricut, keep reading because you can still do this activity without one.
The materials I used for this activity were 12×12 black card stock paper, art tissue paper in Fall colors, and clear Contact paper. I used 12×12 paper so they would be larger, but you could use construction paper in the regular 12×18 size.
To prepare this activity, I placed black card stock paper on the Cricut mat and inserted it into the machine. The leaf pattern is from Cricut Design Space. If you are tracing and cutting, you can find lots of leaf shapes through Google images.
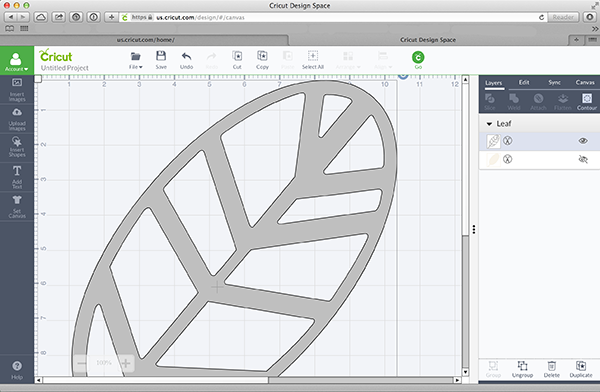
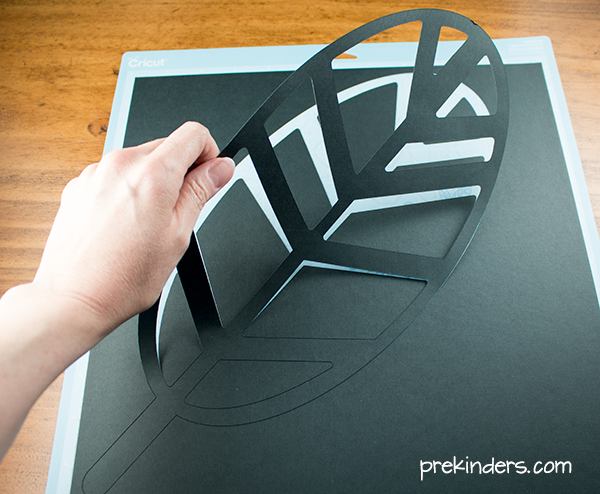
A leaf shape was cut for each child.
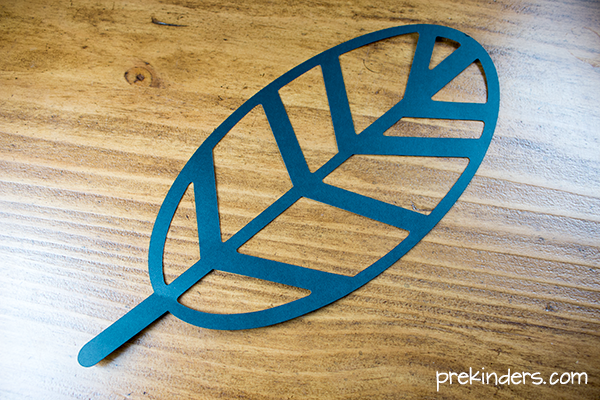
To do this activity, we placed the leaf cutouts on the sticky side of the clear Contact paper. This was placed on the table sticky side up (you can tape down the corners, if needed).
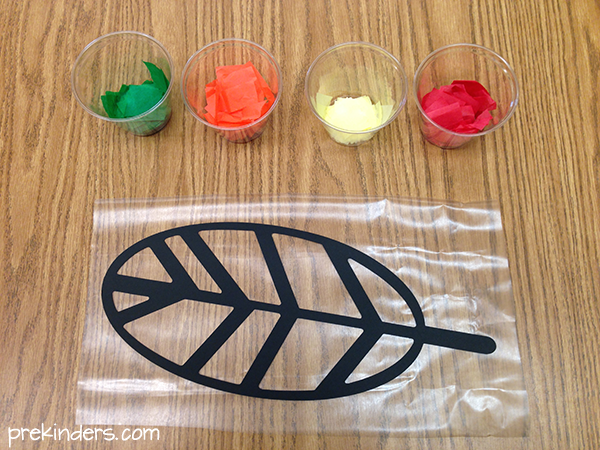
The kids added the Fall colored tissue paper onto the sticky Contact paper.
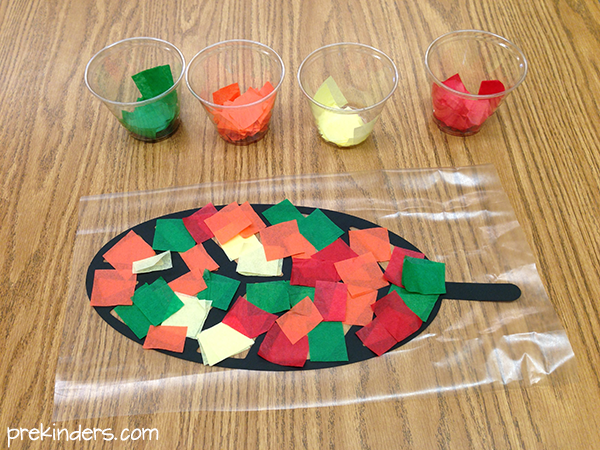
When the kids were done, another sheet of clear Contact paper was placed on top of that to seal it. Then, the kids can cut off the excess Contact paper around the edges of the leaf.
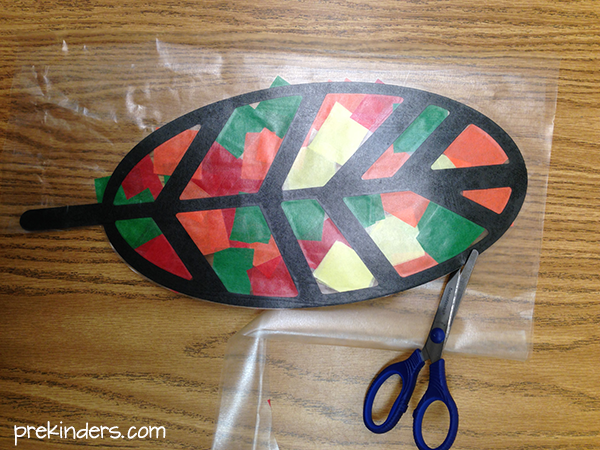
Now, you have a beautiful stained glass leaf to place in your window!
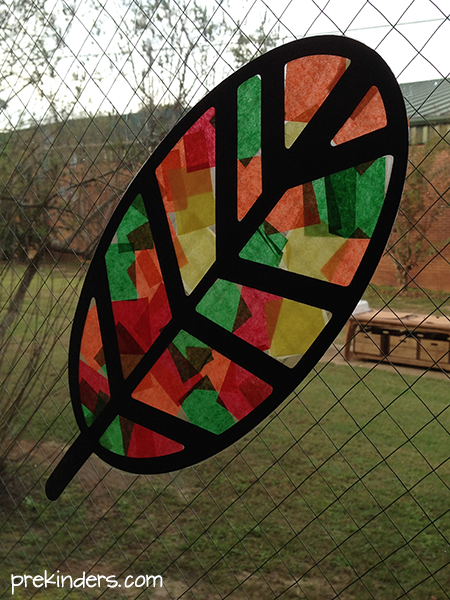
You could do this art activity with all kinds of shapes: pumpkins, ornaments, Christmas trees, snowmen, hearts, shamrocks, Easter eggs, you name it!
If you are interested in a Cricut machine for the classroom, check out the Cricut for the Classroom Facebook Group for lots of classroom ideas.
Disclosure: I received a Cricut Explore One and supplies. All opinions are my own.
