Try these 7 fun magnet experiments with your Pre-K and Preschool children!
This post contains Amazon affiliate links.
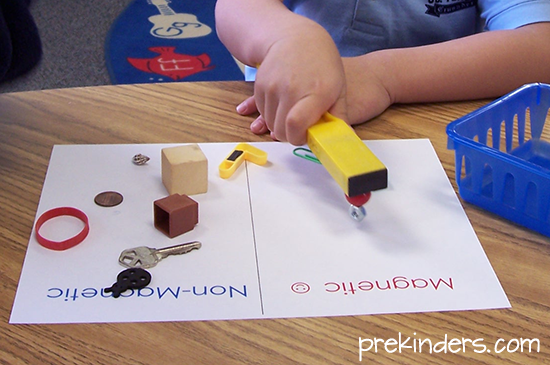
Magnet Sorting Mat
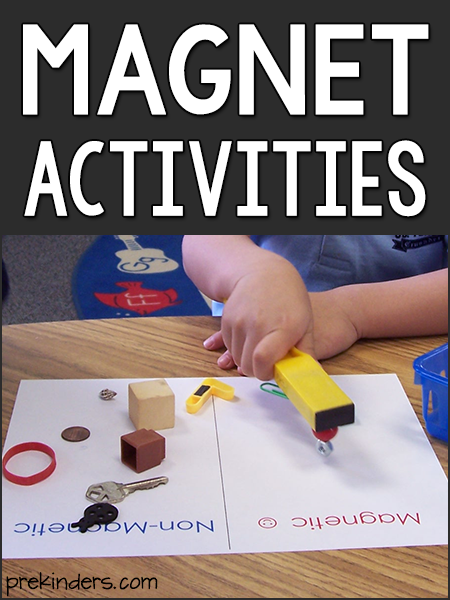
Children use a magnet wand to test a variety of objects to see if they are magnetic or non-magnetic. They classify the objects onto the spaces on this magnet sorting mat.
DIY Magnet Tubes
This idea for magnet tubes is a great DIY project for your science center.
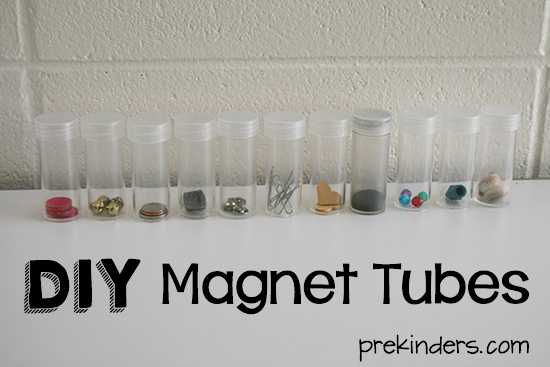
I like to plunder through craft stores and hardware stores looking for things I can use at school. When I came across these coin collector tubes at Hobby Lobby one day, I immediately knew I could use these for something, and thought about making magnet tubes.
I bought the tubes that are made for a stack of quarters. I collected magnetic objects and non-magnetic objects to put inside, and the lids just screw on. I haven’t had a problem with kids taking the lids off, but if that’s a concern, you could glue the lids shut, or add tape around them. Children first make their predictions: which items will be magnetic and which items will not be magnetic? Then they use a magnet wand to “test” the bottles, and compare the results to their predictions. This Magnet Sorting Mat could be used with this activity, or you can label two baskets “magnetic” and “not-magnetic” for sorting the tubes.
From left to right, these are the objects in the bottles as pictured:
- magnetic bingo chips
- mini jingle bells
- coins
- stack of disk magnets
- thumb tacks
- paper clips
- wooden hearts (craft supplies)
- iron filings
- plastic beads
- pencil eraser
- seashells
Since the lids can be screwed on and off, you could change out the items in the bottles. A few ideas for other items:
- marbles
- key
- toothpicks
- buttons (metal or plastic)
- paper
- bread ties
- pebbles
- rubber bands
- sand
- glitter
- cotton
- dice
Magnets in the Science Center
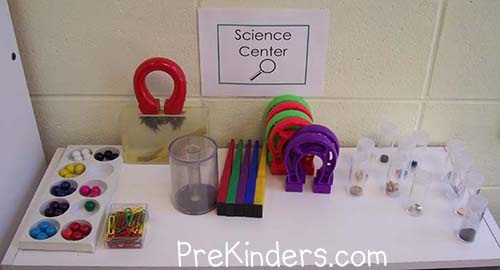
In the science center, I added a collection of magnet wands, horseshoe magnets, and things that are magnetic, such as paper clips, magnetic marbles, boxes filled with iron filings, and magnet tubes (shown above).
Hanging Magnets
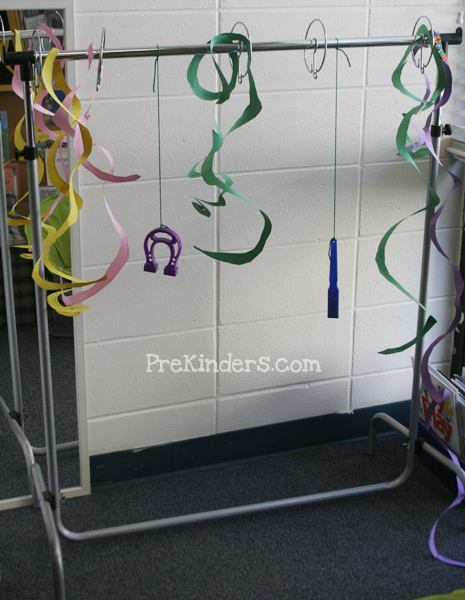
I used a pocket chart stand to suspend two magnets by tying them to the bar with yarn: a horseshoe magnet and a magnet wand. At the time this photo was taken, my class was infatuated with making spiral snakes which they hung all over the classroom — those are the colorful pieces hanging from the top bar, but these are not necessary for magnet experiments :).
There are two ways to use the hanging magnets:
- Children can attach paper clips or magnet balls to the hanging magnets, and see how many clips or balls will attach to the magnet without falling.
- Children can use a second magnet wand and slowly move it closer to the hanging magnet to see how far they must get before the hanging magnet “jumps” to the magnet in their hand.
Magnet Marble Painting
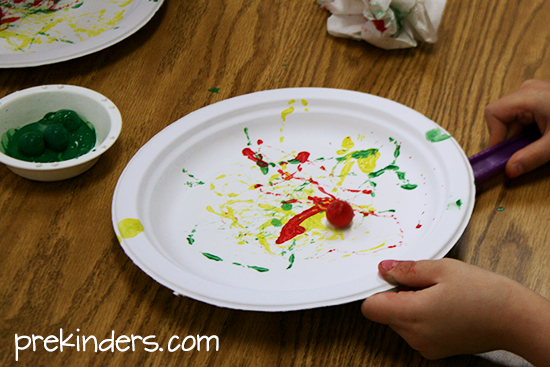
With this activity, kids can use magnets to paint!
For magnet marble painting, you need:
- Magnetic marbles (from an educational supply company)
- Magnet wands (purchase in
fabric store) - Tempera paint
- Heavy duty white paper plates (not plastic or foam) — e.g. Chinet
- Small paint bowls
Squirt tempera paint into each bowl and drop in a few magnetic marbles. It helps to place the same color marble into the same color of paint (green marble into green paint) so the children are less likely to mix up the paint colors. Children place a marble on top of their plate, then move their magnet wand below the plate to move the marble. The magnetic marble paints the plate! These make a nice abstract painting, which are nice to display in the classroom.
Magnets in the Sensory Table
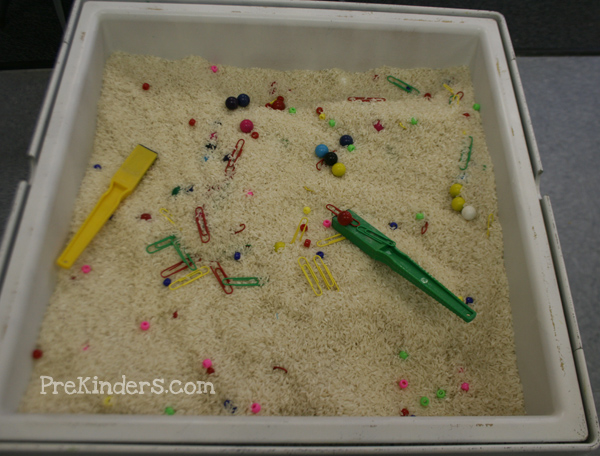
To
Where to find these items:
Pony Beads: Can be found in craft stores.
Magnetic Marbles: Can be purchased from school supply stores.
Magnet Wands: Can be found in fabric shops.
How Far Will a Magnet Jump?
Here’s an interesting science activity to see how far something magnetic will “jump” as you put a magnet closer to it.
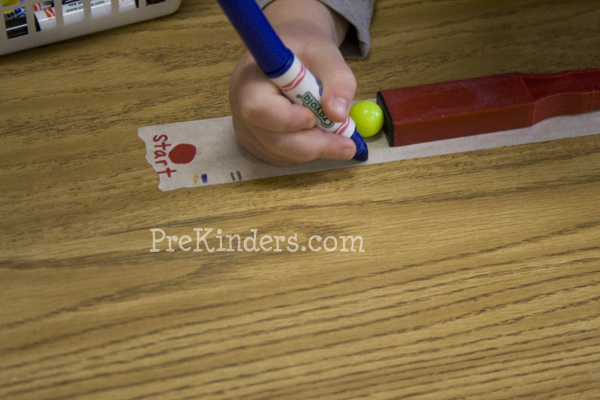
For this magnet activity, I first placed a long piece of masking tape on the table. The red dot drawn on the tape signified the starting point. The magnetic objects all begin at the red dot.
We collected some objects that we knew were magnetic (by the time we did this activity, the children knew what was and wasn’t magnetic). We used: paper clips, magnetic marbles, jingle bells. The magnet wand was placed on the tape, and slowly pushed along the tape towards the magnetic object.
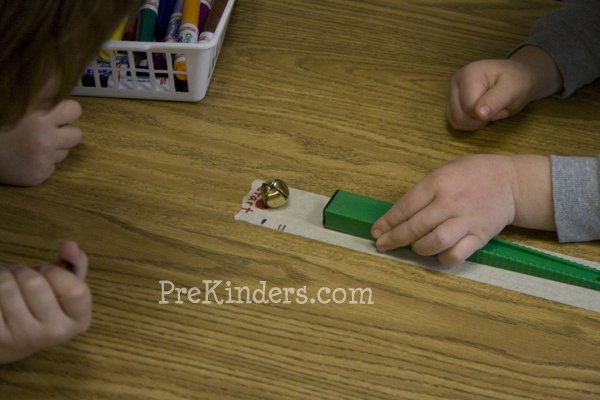
At the point where the object “jumped” to reach the wand, a child marked the spot on the tape with a marker. We tried several different objects to see which ones would jump the farthest distance and which the closest.
The magnet marbles jumped the farthest, but for the paper clip and jingle bell, the magnet had to be very close for them to move. Stronger magnets would probably make this a better activity. I have seen some “super strong” magnets in an educational catalog, and that’s probably what we need.

